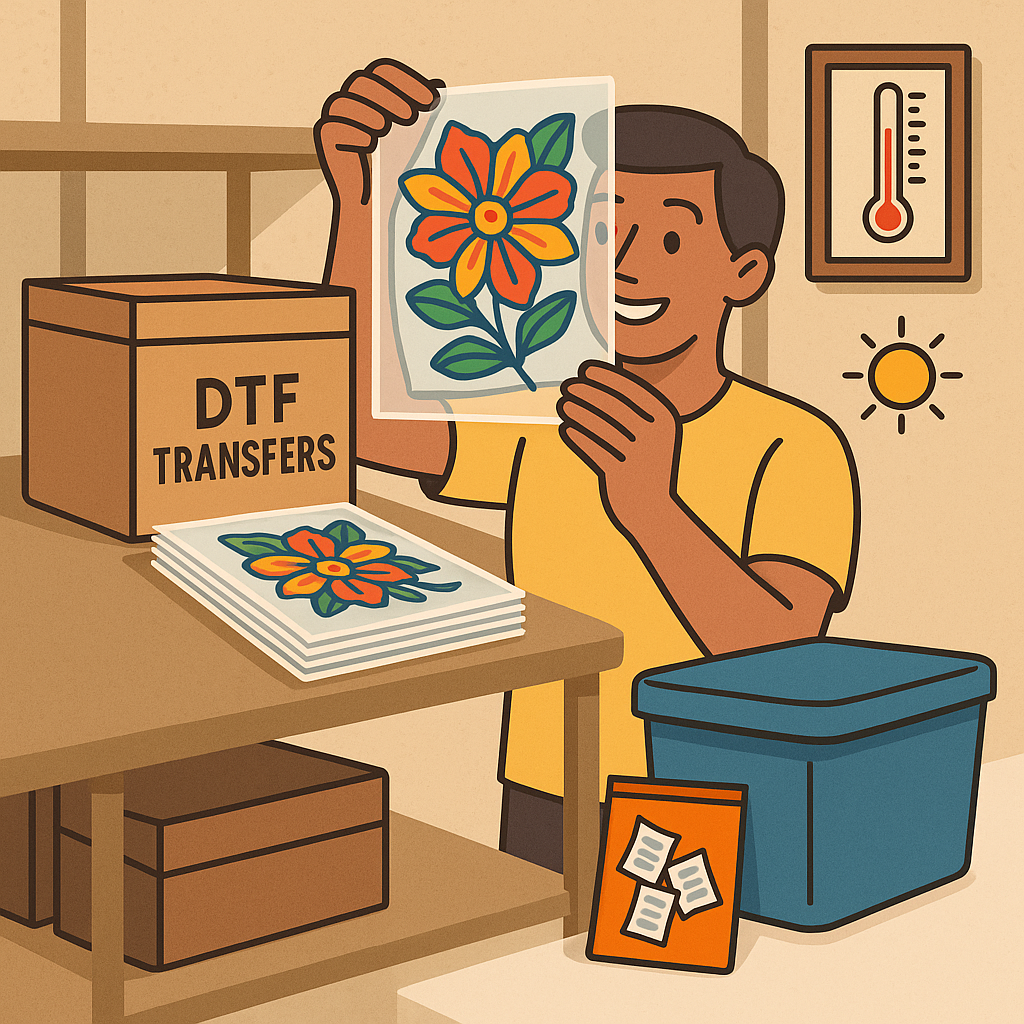
You’ve just received a fresh order of Direct-to-Film (DTF) transfers, and they look perfect. Whether you ordered in bulk to get ahead of a big project or have leftovers from a recent run, you now have an inventory of ready-to-press designs. But how you store these transfers is just as important as how you press them. Improper storage can ruin your investment, leading to failed applications, wasted materials, and lost profits.
DTF transfers are durable, but the adhesive and ink are sensitive to their environment. Exposure to heat, humidity, dust, and light can degrade their quality over time, making them difficult to press or causing them to fail after application. Protecting your inventory is key to ensuring that a transfer you press three months from now looks just as good as one you press today.
This guide provides a complete checklist for proper DTF transfer storage. We'll cover the ideal environmental conditions, the best materials for storage, and handling practices to keep your transfers in perfect, press-ready condition for months to come.
Why Proper DTF Storage Is Crucial for Your Business
A DTF transfer is a multi-layered product composed of ink and a heat-activated adhesive on a PET film. Each component can be affected by its environment. The adhesive, in particular, is hygroscopic, meaning it can absorb moisture from the air. When this happens, the transfer’s ability to bond permanently to a garment is compromised.
Proper storage prevents:
- Adhesive Degradation: Protects the adhesive from absorbing moisture, which can cause it to fail during pressing.
- Dust and Debris Contamination: Keeps the sticky side of the transfer clean, ensuring a perfect bond without imperfections.
- Fading and Discoloration: Shields the ink from UV light, which can cause colors to fade over time.
- Physical Damage: Prevents transfers from being bent, creased, or scratched, which would ruin the final print.
By controlling the storage environment, you protect your inventory and ensure that every transfer you pull from stock will perform exactly as it should.
The Ideal Environment for Storing DTF Transfers
Creating the right storage conditions is about managing four key factors: humidity, temperature, light, and air quality.
Control the Humidity
Humidity is the number one enemy of a DTF transfer. Excess moisture in the air gets absorbed by the adhesive powder, leading to splotchy, uneven presses or complete adhesion failure. The ideal relative humidity for storing DTF transfers is between 40% and 60%.
- How to Manage It: Store your transfers in an air-conditioned space. If you live in a particularly humid climate, consider using a dehumidifier in your storage room. For long-term storage, placing transfers in a sealed plastic bag or container with a few silica gel desiccant packs can be highly effective at absorbing any excess moisture.
Maintain a Stable Temperature
Extreme heat can soften the adhesive, making transfers sticky and difficult to handle, while extreme cold can make the film brittle. A stable, cool room temperature is best.
- How to Manage It: Aim for a temperature range of 65°F to 80°F (18°C to 27°C). Avoid storing transfers in garages, attics, or near windows where they might be exposed to direct sunlight or drastic temperature swings. A climate-controlled office or workshop is the perfect location.
Keep Them in the Dark
The UV rays in sunlight and even some fluorescent lighting can cause the vibrant colors in your DTF prints to fade over time.
- How to Manage It: Store your transfers in an opaque container, a dark closet, or inside a drawer or cabinet. If you received them in a box or protective bag, keeping them in their original packaging is an excellent option.
Best Practices for Handling and Physical Storage
How you physically store and handle your transfers is just as important as the room's environment.
Use the Right Storage Materials
- Plastic Sleeves or Bags: The best way to store individual sheets or small batches is to lay them flat inside a sealed plastic sleeve or a large ziplock-style bag. This protects them from dust, debris, and ambient humidity.
- Opaque Boxes or Bins: For larger quantities, stack the sleeved transfers flat inside a labeled, opaque plastic bin or a cardboard box. This provides protection from light and physical damage.
- Store Flat, Not Rolled: While roll-form transfers are common in production, once you have cut sheets, you should always store them flat. Rolling them can cause the layers to separate or the film to curl, making them difficult to position correctly on the heat press.
Master Your Inventory Management
A disorganized pile of transfers is a recipe for waste. Implementing a simple inventory system will save you time and money.
- Label Everything: Clearly label each box, bin, or sleeve with the design name, date received, and quantity. This prevents you from having to rummage through stacks of transfers to find the one you need.
- Implement a FIFO System: "First-In, First-Out" is a basic inventory principle that ensures you use your oldest stock first. This is crucial for maintaining quality, as even well-stored transfers have a shelf life (typically 6-12 months). When you get a new batch, place it at the back of your storage area and pull from the front.
Handle with Care
When it's time to press, handle the transfers correctly to avoid contamination.
- Hold by the Edges: Try to only touch the clear edges of the PET film. Avoid touching the printed area or the powdered adhesive on the back, as oils from your skin can interfere with the bond.
- Inspect Before Pressing: Give the transfer a quick visual inspection before placing it on the garment. Look for any dust, hair, or debris that may have settled on the adhesive and gently brush it off if needed.
Re-Checking and Pressing Stored Transfers
If a transfer has been stored for several months, especially in a less-than-ideal environment, it's a good practice to take an extra precautionary step before pressing. The adhesive may have absorbed a small amount of moisture.
- The Hover Trick: Place the transfer on the lower platen of your heat press and hover the top platen about an inch above it for 15-30 seconds. This low, indirect heat will help evaporate any surface moisture from the adhesive, preparing it for a perfect press.
After this quick step, you can proceed with your normal pressing routine. You can always find our up-to-date, recommended press instructions on our FAQ page. For more essential tips on the entire DTF process, explore our DTF Q&A blog.
Stay Stocked with Fast, Reliable Transfers
Proper storage protects your investment and ensures you're always ready to fulfill orders with high-quality prints. By controlling the environment and handling your inventory with care, you can confidently use transfers that have been on your shelf for months.
Of course, the best inventory system is one where you don't have to keep a huge backstock. At Southeast Prints, our 24-hour turnaround and same-day shipping on orders placed by 1 PM EST mean you can get the transfers you need, right when you need them. This allows you to operate a lean inventory, reducing your storage needs and upfront costs.
Ready to stock up on transfers that are engineered for quality and longevity? Upload your premade gang sheet and get fresh, press-ready prints delivered to your door.